
STEP ONE: PRE PRODUCTION
CONCEPT DEVELOPMENT. STORY STRUCTURE.
SCRIPT WRITING. CHARACTER DEVELOPMENT.
WORLD BUILDING. STORYBOARDING. PREVISUALIZATION.
CHARACTER DESIGN
-
![]()
Sketches
-
![]()
Silhouettes
-
![]()
Variety
-
![]()
Turnaround Sheet
-
![]()
Expression Sheet
-
![]()
Action Sheet
-
![]()
Color Sheet
-
![]()
Sample Style Frame
-
![]()
Final Design


STORYBOARDS
-
![]()
1st Draft
-
![]()
2nd Draft
-
![]()
3rd Draft


ASSETS DESIGN
-
![]()
Title Font
-
![]()
The Item
-
![]()
Character Ring
-
![]()
Level Symbol
-
![]()
Game Points
-
![]()
Level Wall Patterns
-
![]()
Point Station


STYLE FRAMES


STEP TWO: PRODUCTION
ASSETS ANIMATION. RECORDING OF NARRATION.
CAMERA MOVEMENTS. SCENE TRANSITION.
CHARACTER RIGGING. CHARACTER ANIMATION
SCENE CONSTRUCTION
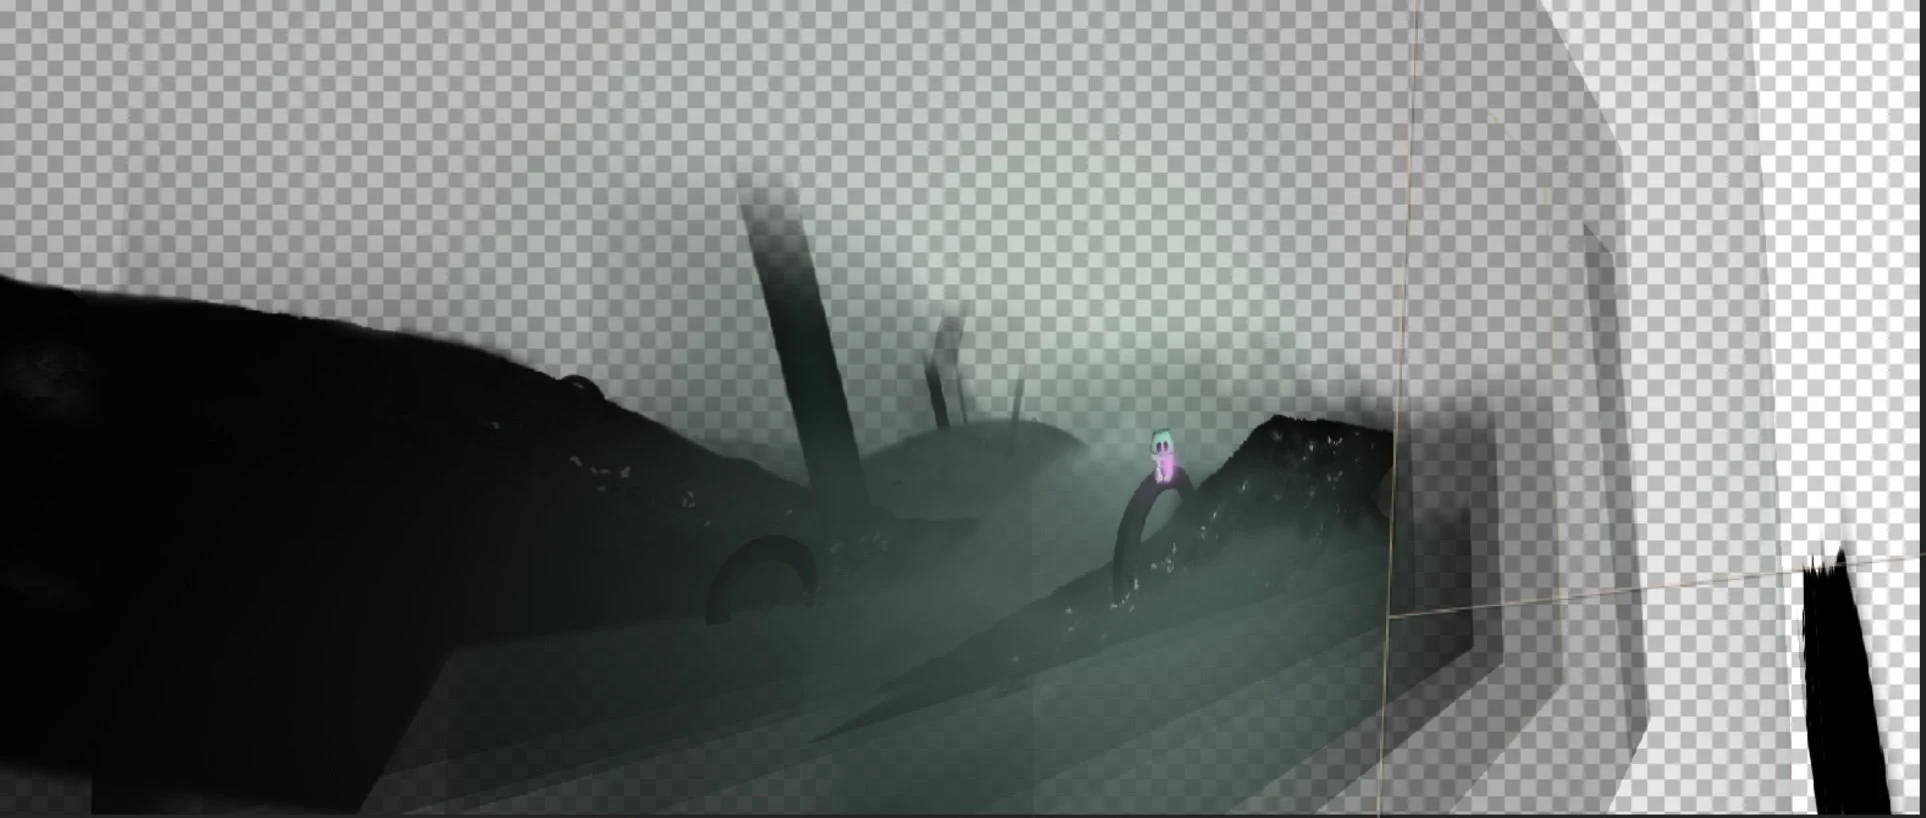
-
![]()
2.5D Visual Perception
Manipulating 2D layers in 3D space with After Effect’s 3D cameras.
Scene One
-
![]()
2.5D Visual Perception
Manipulating 2D layers in 3D space with After Effect’s 3D cameras.
Scene Four
-
![]()
2-View Layout
Top View (Left)
Active Camera view (Right)
-
![]()
After Effect Layers


CHARACTER CONSTRUCTION
-
![]()
Character Major Poses
-
![]()
Rigging Layers
-
![]()
Head Rig
Rigged with Duik Bassel.2’s “Slider Controllers” and the “2D Slider Controllers”
-
![]()
Body Rig
Rigged with Duik Bassel.2’s hominoid structures and “Auto-rig & IK”
-
![]()
Character Stylisation
After Effects’ layer style options: “inner shadow”, “outer shadow”, “outer shadow”, and “bevel and emboss”


